Step 2: Create Your AI Agent
Your AI agent is the personality and brain of your chatbot. This is where you define how your bot will interact with customers.
Accessing Agent Configuration
- Navigate to Agent in the sidebar menu
- You'll see the agent configuration form
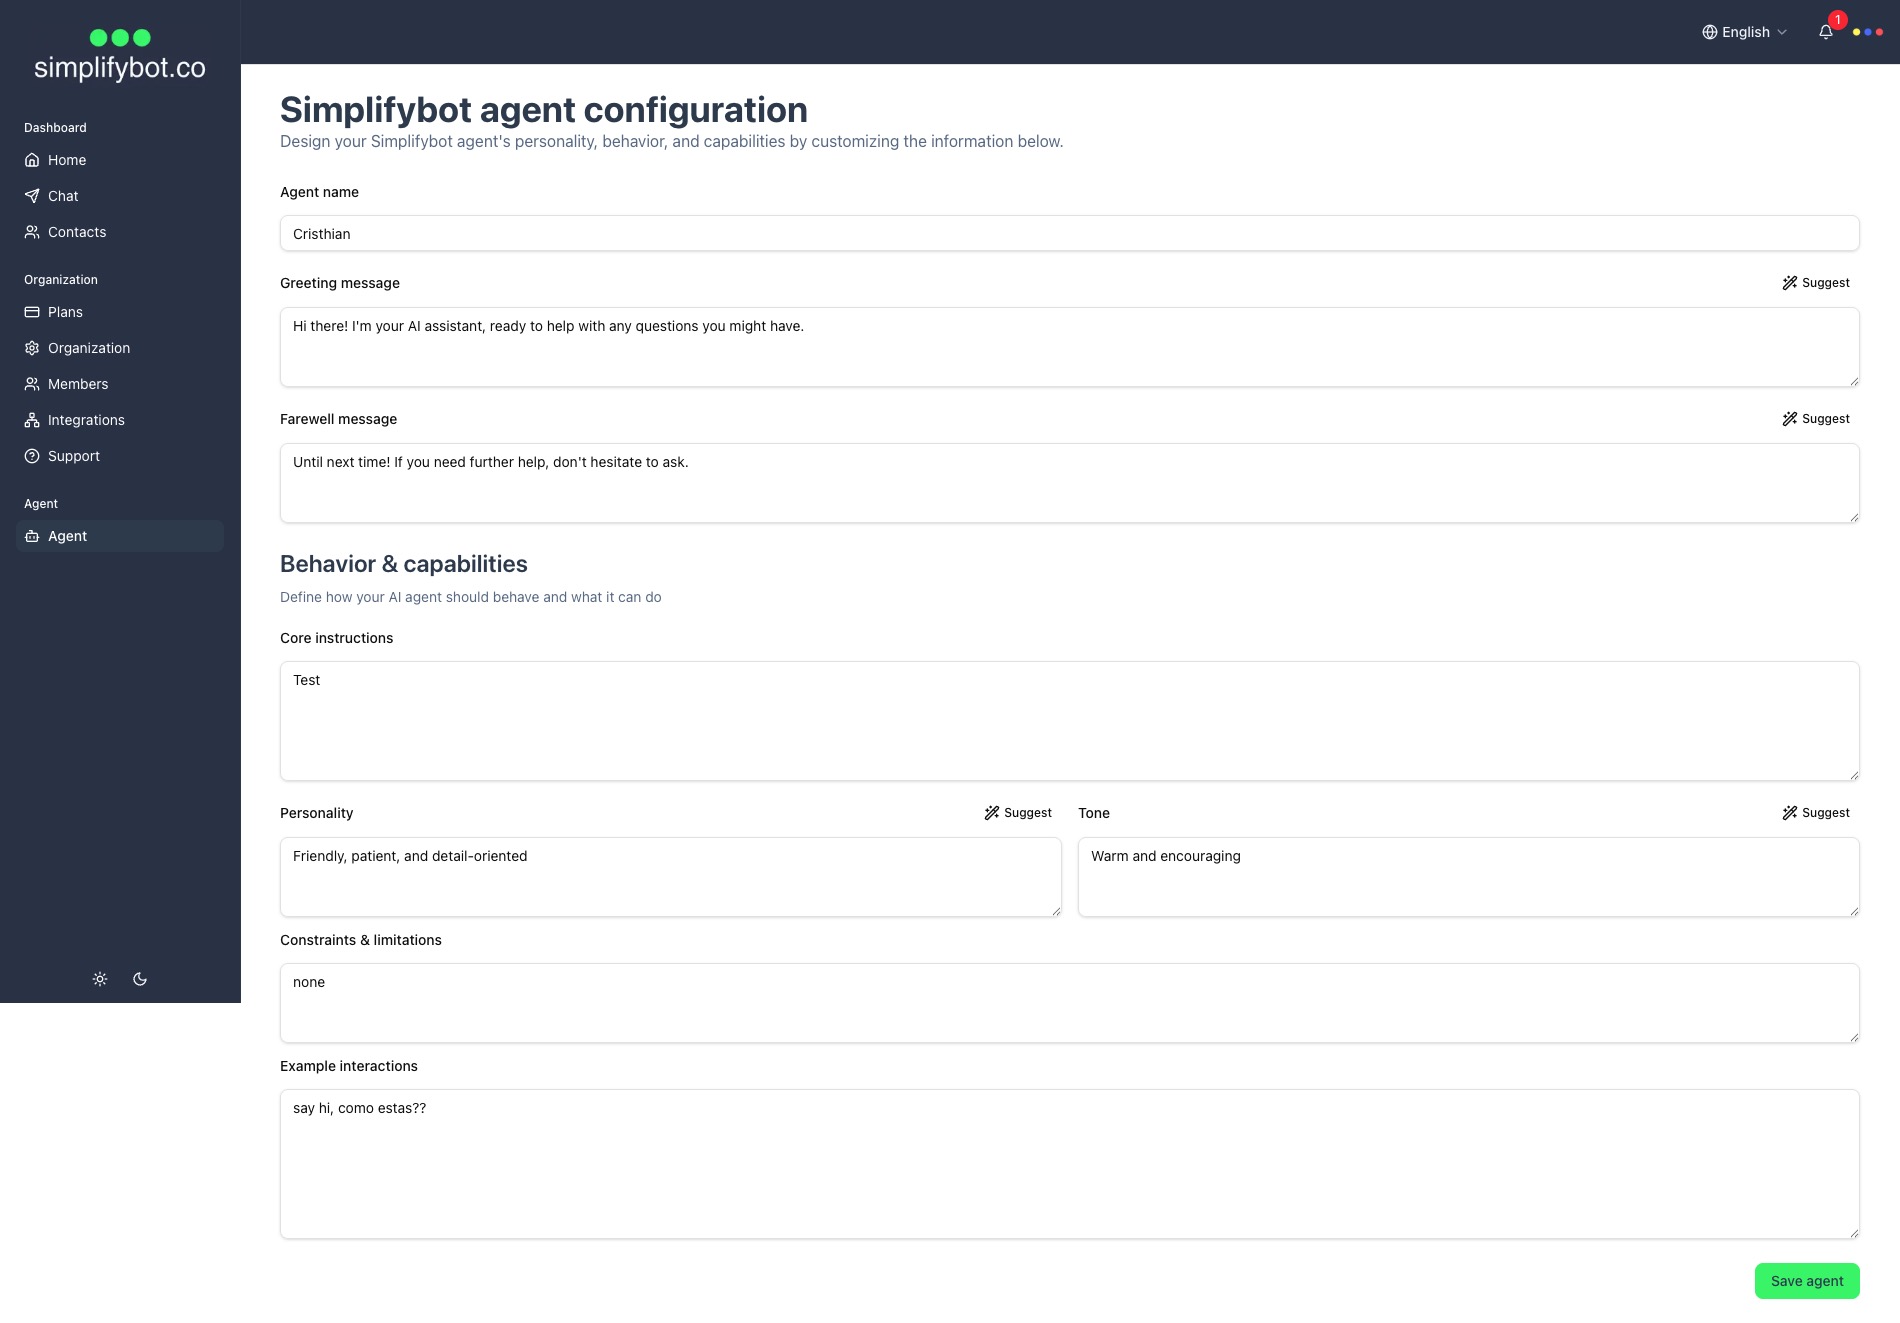
Configuring Your Agent
Agent Name
- Give your agent a friendly, memorable name
- This name may be used in conversations
- Example: "Sarah", "SupportBot", "Alex"
Greeting Message
- Define how your agent greets new customers
- This is the first message customers see
- Make it warm, welcoming, and informative
- Tip: Use the "Suggest" button (✨) to get AI-generated suggestions
- Example: "Hi there! I'm Sarah, your virtual assistant. How can I help you today?"
Farewell Message
- Define how your agent says goodbye
- Use this to end conversations gracefully
- Tip: Use the "Suggest" button for ideas
- Example: "Thanks for chatting! Feel free to return if you have more questions."
Behavior & Capabilities
Core Instructions
- Define the agent's primary purpose and responsibilities
- Explain what the agent should do and how it should behave
- Be specific about the agent's role
- Example: "You are a customer support assistant for a coffee shop. Help customers with orders, answer questions about products, provide store hours and location, and handle complaints professionally."
Personality
- Describe the agent's personality traits
- This shapes how the agent communicates
- Tip: Use the "Suggest" button for personality ideas
- Example: "Friendly, patient, and detail-oriented" or "Enthusiastic, helpful, and concise"
Tone
- Define the communication style
- Should match your brand voice
- Tip: Use the "Suggest" button for tone suggestions
- Example: "Casual and approachable" or "Professional yet friendly"
Constraints & Limitations
- Define what the agent should NOT do
- Set boundaries for the agent's behavior
- Example: "Do not make promises about delivery times. Do not process payments. Do not share personal customer information."
Example Interactions
- Provide sample conversations to guide the agent
- Show how the agent should handle different scenarios
- Include both good and bad examples
- Example:
Customer: "What are your store hours?"
Agent: "We're open Monday-Friday 7am-7pm, Saturday 8am-6pm, and Sunday 9am-5pm. Is there a specific day you're interested in?"

Customer: "Do you deliver?"
Agent: "Yes! We offer delivery within a 5-mile radius. Orders over $25 get free delivery. Would you like to place an order?"
Saving Your Agent
- Review all fields carefully
- Click "Save Agent" button at the bottom
- Wait for the confirmation message
- Your agent configuration is now active
Tips for Creating an Effective Agent
- Match Your Brand: The agent's personality should reflect your brand identity
- Be Clear: Clear instructions lead to better responses
- Test and Iterate: Start with basic configuration, then refine based on real conversations
- Use Examples: Example interactions are powerful - include diverse scenarios
- Set Boundaries: Clear constraints prevent the agent from overstepping
Updating Your Agent
You can update your agent configuration anytime:
- Navigate to Agent in the sidebar
- Modify any fields
- Click "Save Agent" to apply changes
- Changes take effect immediately for new conversations
Next Steps
Once you've created your AI agent, continue to:
- Step 3: Connect Integrations - Connect your social network accounts